Visual Studio Code IDE
This guide will help you set up VSCode for remote tunneling into the supercomputers using a local client or web browser.
These instructions will guide you to create a VSCode tunnel rather than connect via Remote SSH. Remote SSH is discouraged and when used on login nodes can often result in usage violations due to CPU core overuse.
VSCode Setup
VSCode is for both managing remote files stored on supercomputer storage, as well as providing a rich IDE for development. This can be accomplished through the use of the Visual Studio Code CLI Server. Follow these steps to prepare a job allocation for the VSCode background server.
There are three ways to set up VSCode, detailed below.
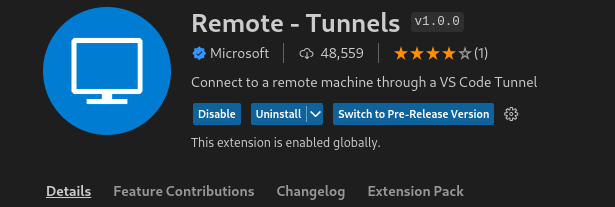
In order to connect with VSCode desktop, the Remote - Tunnels extension must be installed. ASU Supercomputers use "GitHub Authentication".
Create a VSCode Tunnel Via the Web Portal
-
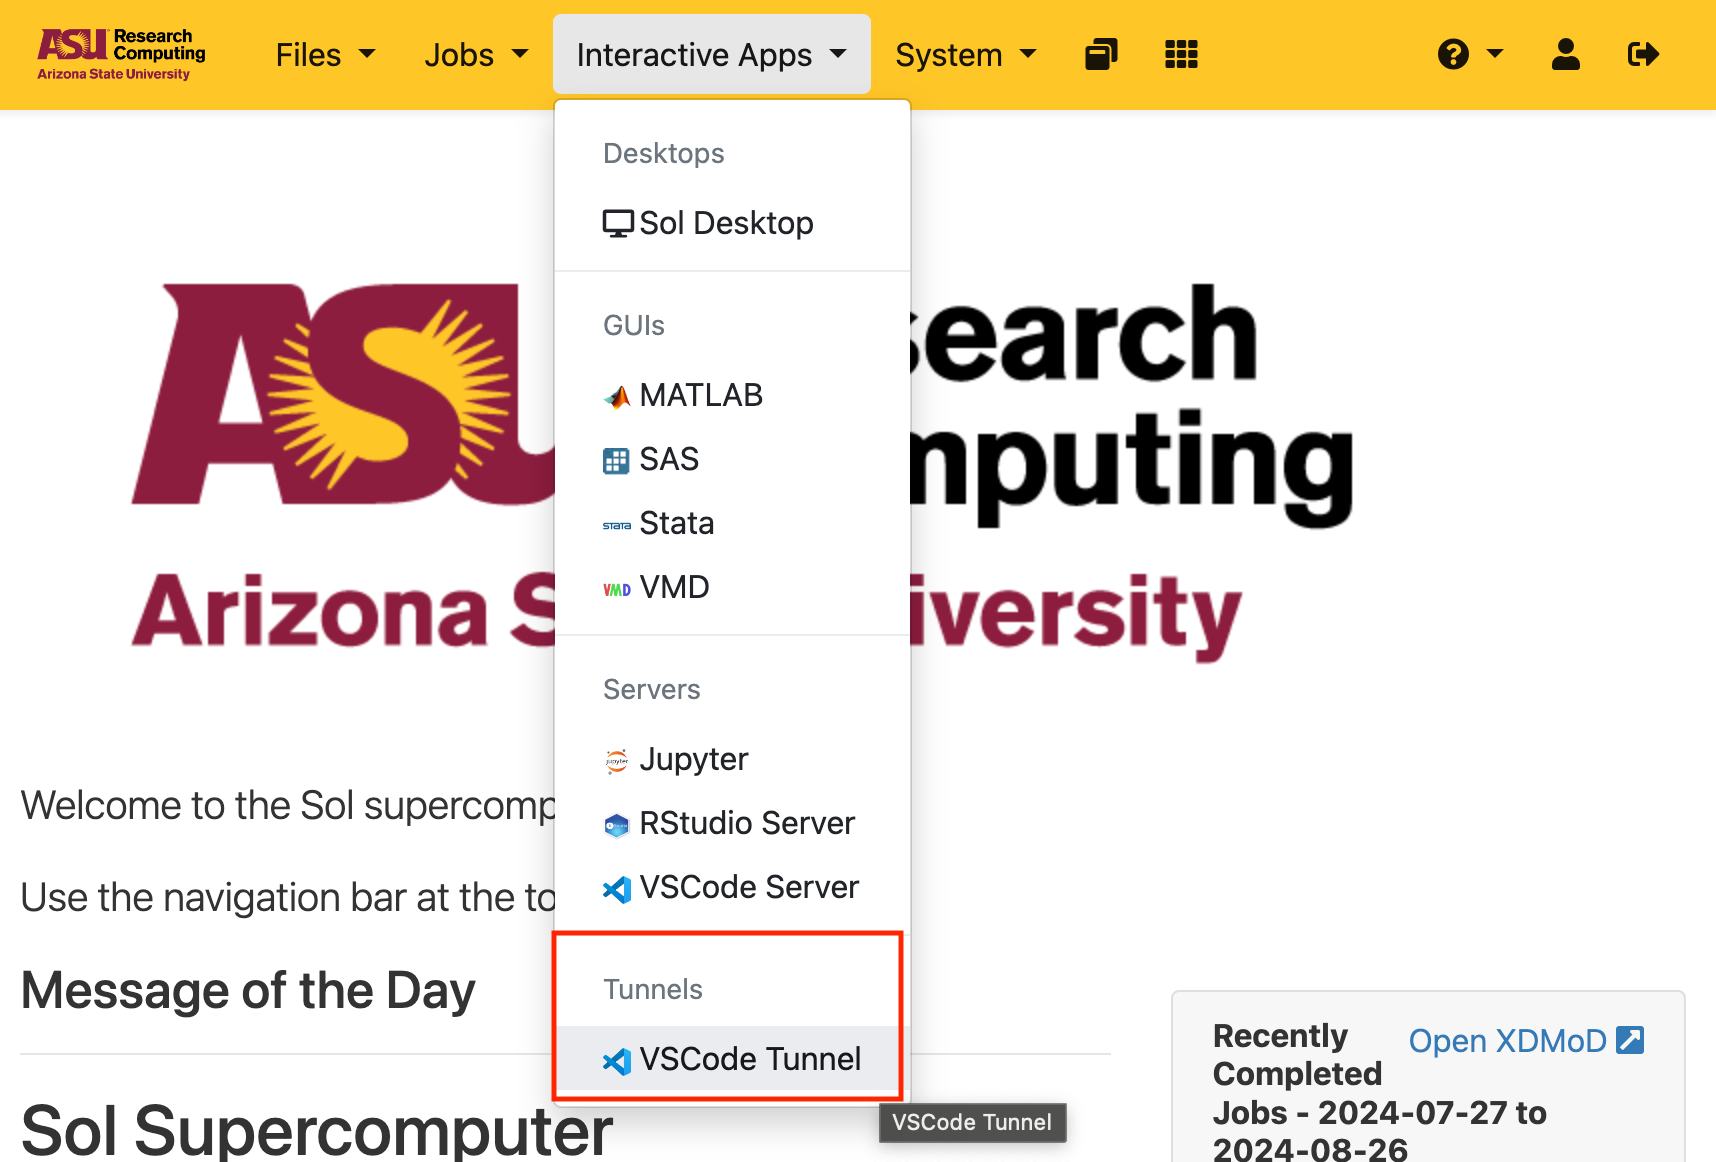
Navigate to the web portal (sol.asu.edu or phx.rc.asu.edu)
-
Under Interactive Apps, Select "VSCode Server"
-
Fill out the job options, and click "Launch"
-
Once the GitHub Code is shown, click "Copy Code and Login To GitHub"

-
Sign in with Github, using the code that was automatically copied to your clipboard. See the Logging in With GitHub section below for more information.
-
Go back to the web portal and after 20-30 seconds, a button will appear to launch VSCode in your browser or desktop. If the button does not appear, try refreshing the page.

Create a VSCode Tunnel Via the Command-line
- Log into the supercomputer and start the VSCode tunnel with the shortcut
vscode. A separate job session will be created in the background to run the service daemon.
[rcsparky@login02:~]$ vscode
*
* Visual Studio Code Server
*
* By using the software, you agree to
* the Visual Studio Code Server License Terms (https://aka.ms/vscode-server-license) and
* the Microsoft Privacy Statement (https://privacy.microsoft.com/en-US/privacystatement).
*
To grant access to the server, please log into https://github.com/login/device and use code 1EAB-9CE6
-
The
vscodecommand takes all the same arguments asinteractive. Additional arguments you wish to pass to your job allocation can be done in the same command, e.g.,vscode -t 1-0(for 1 day long), etc. See Slurm - Requesting Resources for more detail, e.g., GPUs, memory, and CPUs. -
Review the previous output and identify both the
githublogin URL and accompanying code:..., please log into https://github.com/login/device and use code 1EAB-9CE6a. See the Logging in With GitHub section below for information
-
The terminal session will now provide additional guidance for connecting your IDE:
To grant access to the server, ...

Open this link in your browser https://vscode.dev/tunnel/sol/packages/apps/vscode
Using Remote Tunnels to connect to the VSCOde instance
- Ensure the Remote - Tunnels extension is installed in your workstation's VSCode.
-
Press
F1and type in/select "Remote-Tunnels: Connect to Tunnel..." -
If prompted for Auhentition Type, select "GitHub" and follow the instructions to login with GitHub
-
Select the name of the tunnel. It will almost always be the supercomputer name and your ASURITE
You can also identify the name of the tunnel from the previous steps:
Open this link ... https://vscode.dev/tunnel/sol/packages/apps/vscode
                                     ^ tunnelname = sol
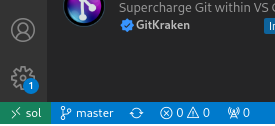
The name of the connected-to tunnel will appear in the IDE at the bottom left.
Run the Open-Source Code Server From the Web Portal
-
Navigate to the web portal (sol.asu.edu or phx.rc.asu.edu)
-
Under Interactive Apps, Select "VSCode Server"

-
Fill out the job options, and click "Launch"
-
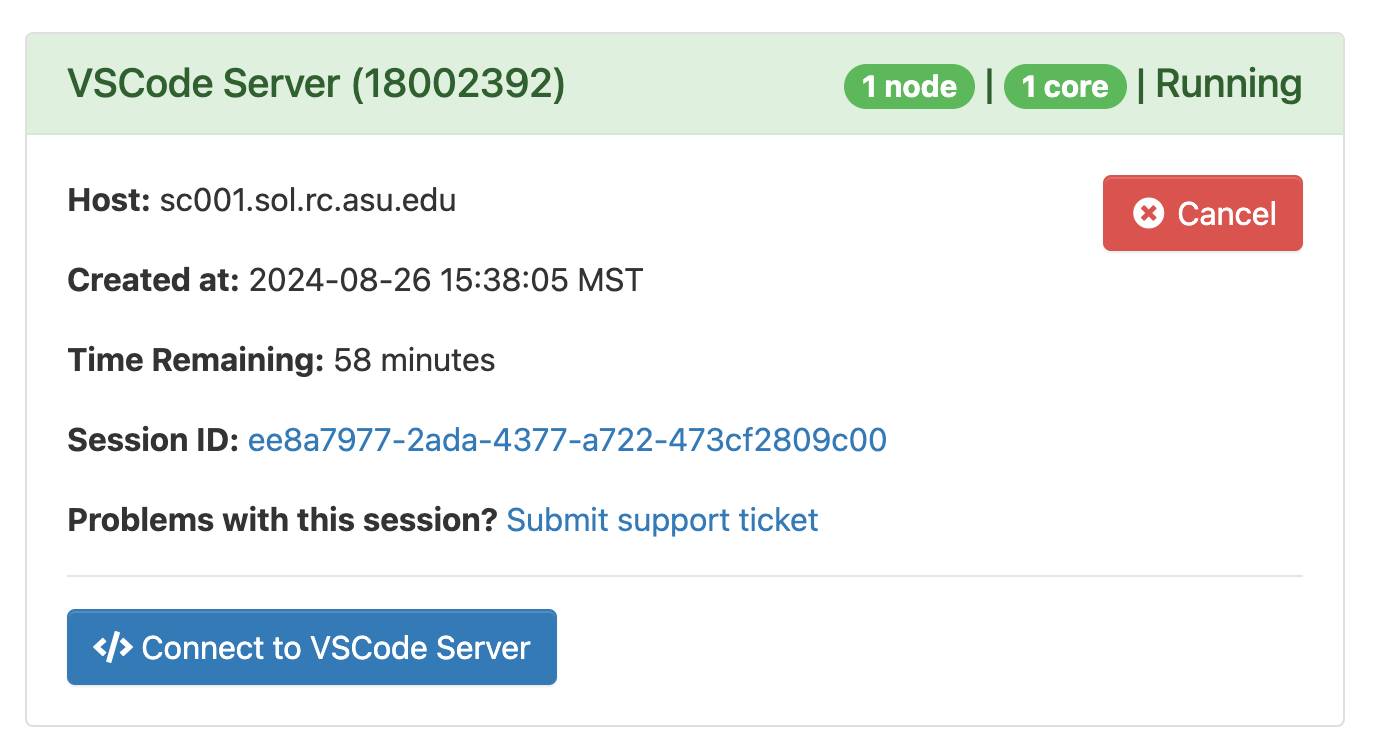
Once the job starts, click "Connect to VSCode Server"
- Start coding in the provided web-based code server

Please note that this is the open-source version of VSCode, and does not support the Microsoft Extension Store, so some Microsoft Extensions, such as Co-Pilot, are not available.
To use Co-Pilot, you will need to use a VSCode Tunnel.
Logging In With GitHub
The XXXX-XXXX code will be different on every invocation. This code connects your background VSCode daemon to github.com, which provides half the tunneling functionality; the other half is connecting your browser or VSCode IDE to the other end of the tunnel. The VSCode Extension reaches out online to find any tunnels you've created through this process.
- Open up the URL in your workstation browser:
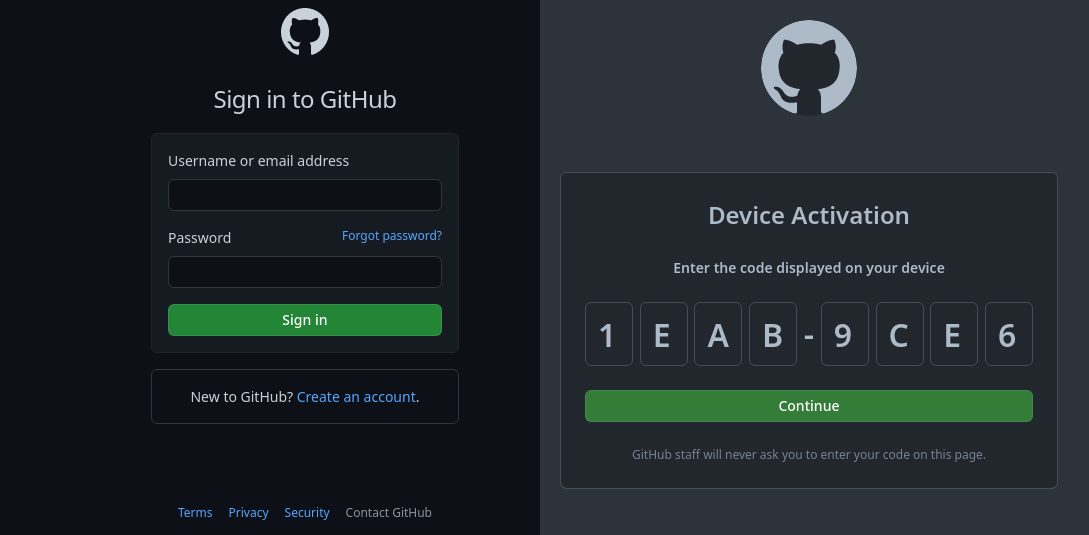
First, log into your GitHub account (required). The browser will then prompt you for the above code.
- Authorize GitHub with the Green button:

- The connection should now be complete:

- If using a terminal session, you will now see additional guidance for connecting your IDE:
To grant access to the server, ...

Open this link in your browser https://vscode.dev/tunnel/sol/packages/apps/vscode
If using the Web Portal, within a minute you see the Open in VSCode Web/Desktop buttons:
